3 Soil Health Assessment Part I: Soil Cover, Slope, and Residue Breakdown
Soil Cover, Slope, and Residue Breakdown
Acknowledgement and Recommended Reading
The methods for determining soil cover and assessing residue breakdown were based on the Cropland In-Field Soil Health Assessment Guide from the USDA-NRCS (2021). The LandPKS app is useful for recording soil health assessment data and uses the same methods described in the Cropland In-Field Soil Health Assessment (LandPKS 2023). An introduction video to soil health measurements using the LandPKS app is provided in the introduction to this laboratory activity. How-to videos are also provided in breakout boxes.
Learning Objectives
By the end of this laboratory you will:
- Conduct a field assessment to determine percent residue cover (also known as soil cover), percent slope, and residue decomposition
- Be prepared to determine need for conservation practices to address resource concerns associated with these soil health indicators
Materials
Materials neccessary to complete this laboratory activity include:
- Meter stick or 100′ roll-up tape measure
- Clinometer or the LandPKS app on a mobile device
- Ground Cover and Percent Slope Data Sheet (Excel file)
Introduction
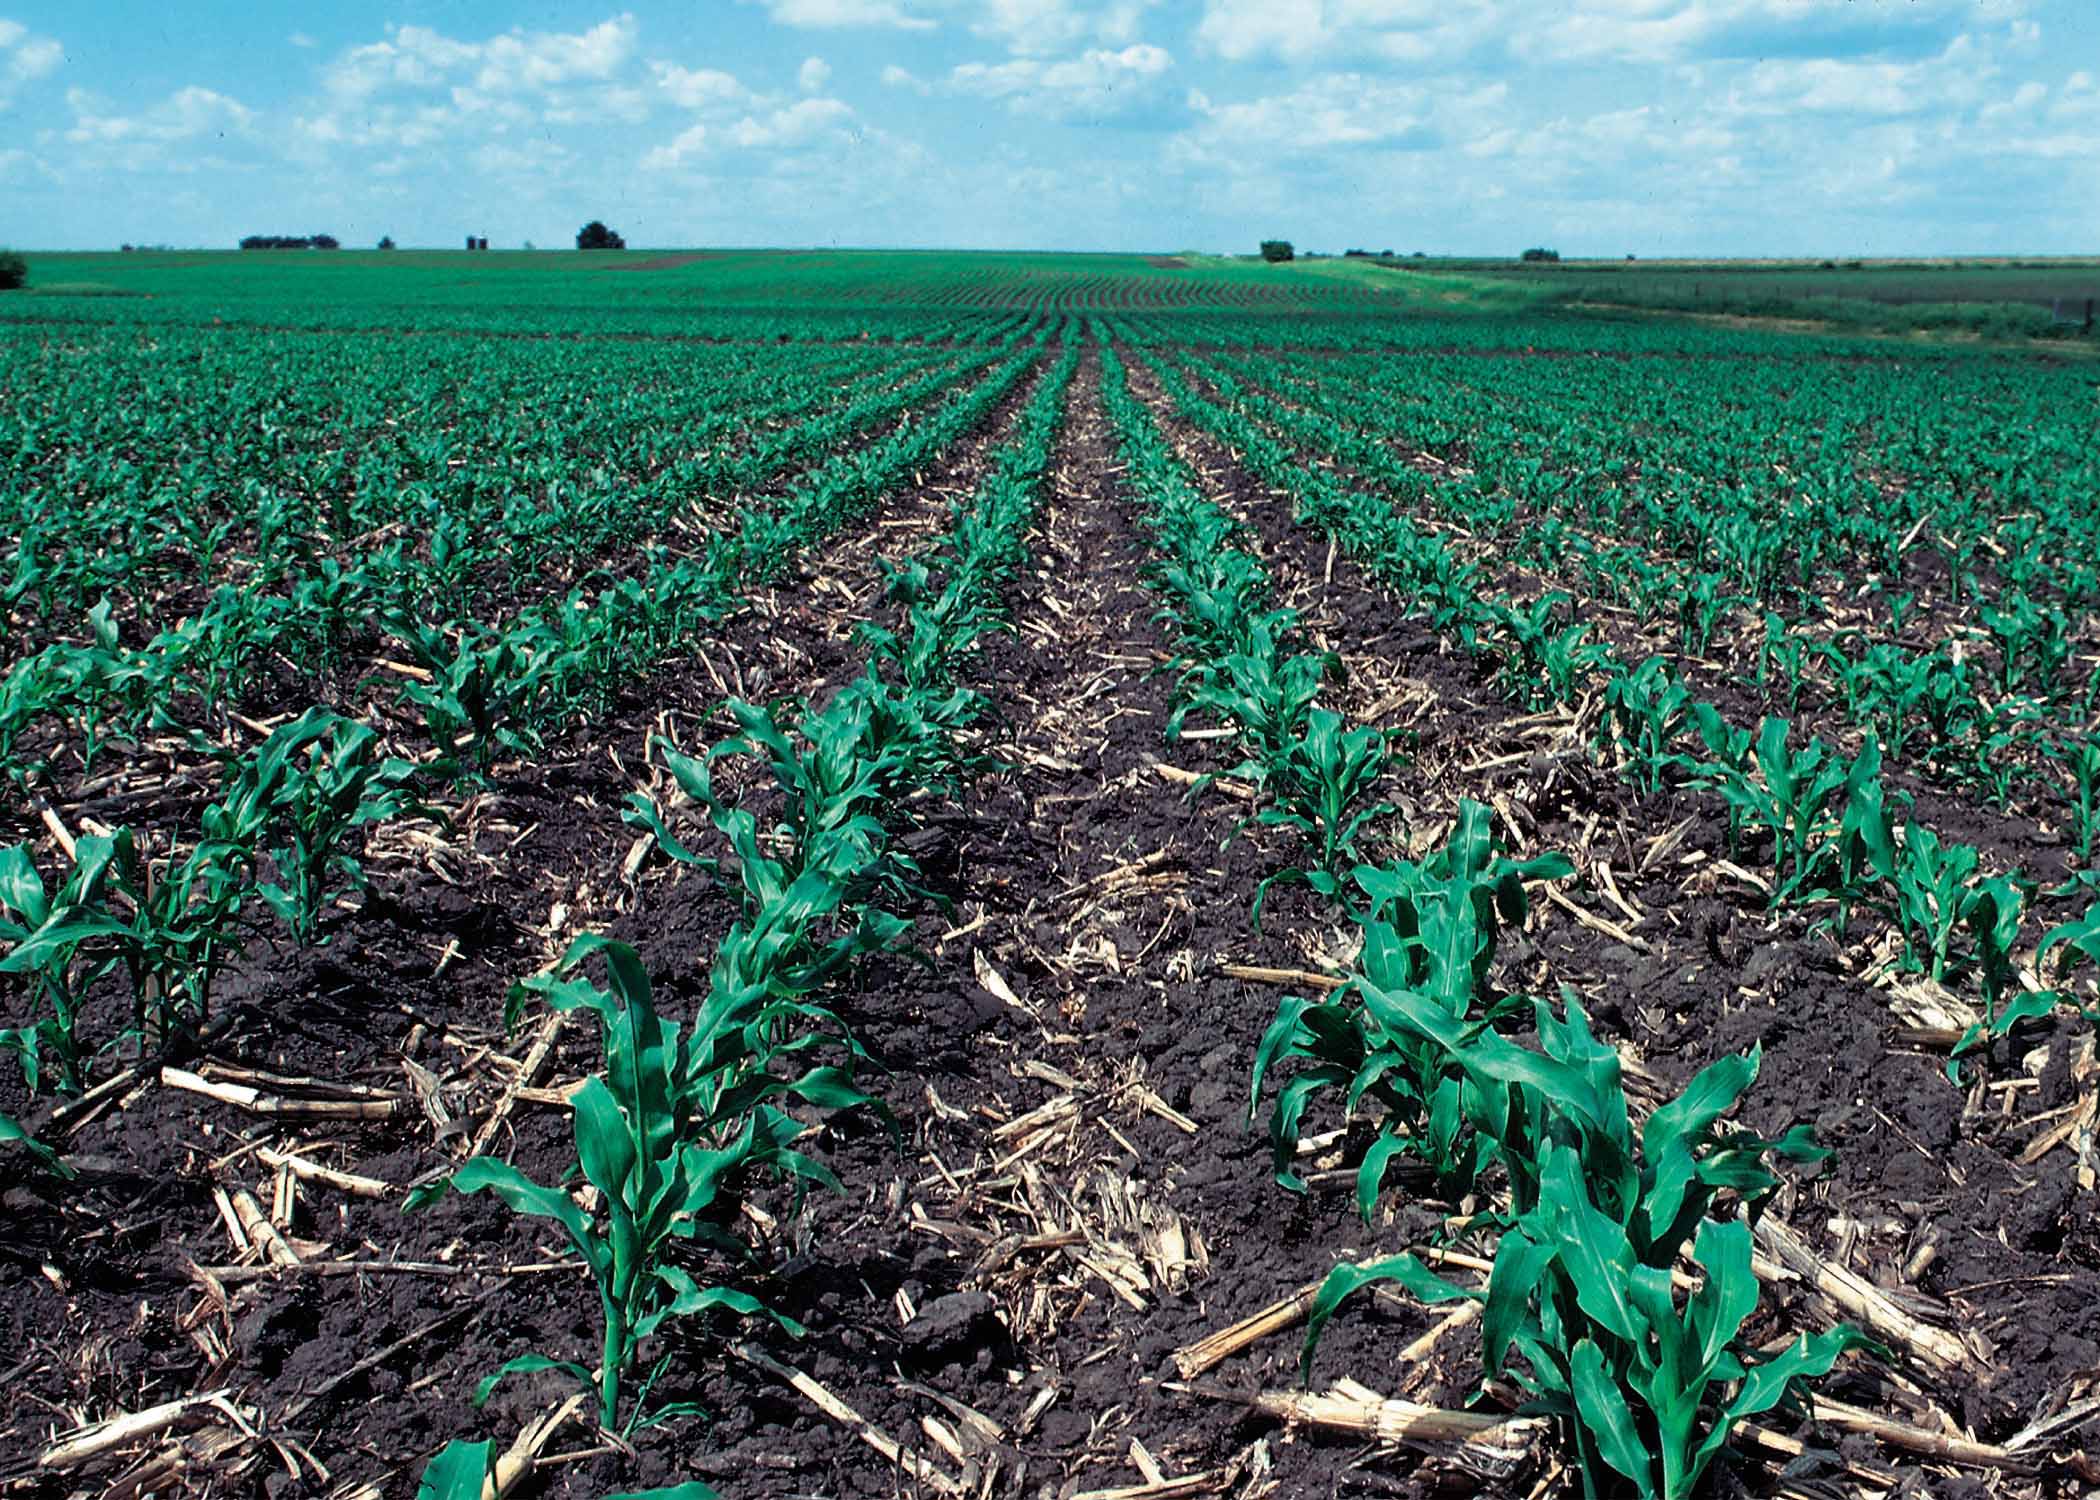
Plant residue, mulch, and other soil covers are important because cover helps protect the soil from the impact of raindrops. The three components of soil erosion are detachment, transport, and deposition. Soil erosion rates can be greatly reduced when detachment of soil particles from soil aggregates is prevented. When assessing the existing erosion risk of a site it is important to accurately quantify the amount of soil cover present as well as predict the fate of residue during subsequent decomposition or field operations. This laboratory exercise is the first of a four-part activity to conduct a cropland in-field soil health assessment based on the USDA-NRCS Technical Note No. 450-06 (USDA-NRCS 2021).
The risk of soil erosion is also influenced by the slope. As slope increases the velocity of water flowing in sheets, rills, and gullies increases, making the water more erosive. In addition to percent cover, you will be determining percent slope, which will be used in estimations of erosion rates in later laboratories.
Introduction to Soil Health and the LandPKS App
The LandPKS app uses the same soil health assessment protocols as the Cropland In-Field Soil Health Assessment from the USDA, and is very useful for recording soil health data. Watch the video below for an introduction to soil health assessment using the LandPKS app.
Determining Percent Slope and Length of Slope
Determining Percent Slope with a Clinometer
You will now measure the slope and length of slope for hill slopes at the site, or for individual terraces if the field has already been terraced. This can be done with a clinometer in two ways. If you have a partner of approximately the same height you can aim the clinometer at their eyes, or a facial feature about the same height as your eyes as you use the clinometer. If you do not have a partner, then drive two stakes or shovels into the ground at the top and bottom of the slope to be measured. The tops of each shovel or stake should be at an equal distance above the soil surface. Using the clinometer, measure the slope from the top of one stake/shovel to the other. Most clinometers display two numbers – the slope angle and the sloper percent. The percent slope should be the higher number, and is typically the number on the right of the scale inside the clinometer. You can check this by looking at a 45º angle. The slope percent should be 100% while the slope angle should be 45º. Alternatively, a unit should be visible when looking directly upward or downward through the clinometer. Record the percent slope of each major hill at your site.
Determining Percent Slope with LandPKS
If you do not have a clinometer, use the LandPKS application on a mobile device. You will first need to create a “site” on the app. Open the app on a mobile device, then click on the plus sign to add a new site. Enter a site name, use the latitude and longitude recorded by the device, and click “save”. Next, click on “Data Input”, then “Land Slope”, then “Use Slope Meter”. Position yourself a certain distance to the side of the hill slope you desire to measure, then face that slope. While facing the slope, align the side of your mobile device so it lines up with the slope of the land, notice both the slope angle (noted by a degree sign, °) and the slope percent (%) change as you rotate the mobile device. Once the device is aligned with the slope, click “lock”. This will save the slope percent for that location within the app. Report this value in the data sheet.
Watch the video below for an overview of creating a site, measuring slope, and recording that data in the app.
Note About Terraces
When determining the slope of a terrace: the slope of a broad-based terrace is measured from the top of a terrace to the channel behind the next terrace downslope. The slope of step-back terraces are measured from the bottom of one terrace to the edge of the next terrace downslope.
Measuring Length of Slope
You will now measure the length of slope using a long measuring tape, or if you know the length of your gate you can measure the length of slope using the number of steps it takes to walk along the slope. Alternatively you can measure the length of slope using the Google Earth app. Navigate to your location in the Google Earth app, click on the ruler icon near the top-right of the screen. Click on the “Add Point” button to add a point at the bottom or top of the slope, then repeat for the opposite end of the slope. Once the second point is added the length of that slope will be reported on screen in the units selected at the bottom-left of the screen.
Report the length of slope in the data sheet, and save this data for future erosion modeling labs.
Determining Percent Cover
There are two primary methods that can be used to determine percent cover. Choose a method based on the materials available to you, and report the method used in your data sheet.
Meter stick Method
This method utilizes a meter stick (or yard stick) and its graduations as an easy, quick method of determining ground cover, and is completed entirely in the field. Place a meter stick perpendicular to the rows of the field. Add up the number of centimeter marks (or inch marks) along the length of the stick that are underlain by ground cover. Also, add up the number of total marks on the stick. Calculate the ground cover according to the following equation:
[latex]\text{Ground cover(%)}=\frac{\text{marks underlain by ground cover}}{\text{total number of marks}}\times100\text{ %}[/latex]
Repeat this measurement at least five times for each section of the field. If this is for a terraced slope, repeat this measurement five times for each terrace. Report the measured values and the average percent cover for each section of the field in the data sheet.
Line-Transect Method
The line-transect method is essentially the same as the meter stick method, but uses either a roll-up tape measure, or a rope/string specifically designed for this method.
With a partner, stretch out the length of a tape measure and align it so that the tape is perpendicular to the rows. Walk the length of the tape, and record the number of graduation marks (meter, yard, or foot marks) that are underlain by ground cover. Also record the total number of graduation marks. Calculate the ground cover using the same equation as above. This method captures a larger sampling area, so repeated measurements are not needed. However, you are welcome to repeat it if field conditions are variable.
A variation of this method is sometimes used in which a rope or string is used instead of a tape measure. In those cases, a knot, or similar marker, is used in place of the graduation marks on a tape measure.
Determining Cover with LandPKS
The LandPKS app uses a slightly different method for quickly determining ground cover. Watch the video below for an overview of that method and how to record your data in the LandPKS app.
Watch the next video to learn how to conduct the vegetation and land cover assessment in LandPKS.
If you desire more detailed vegetation and ground cover data you can use the protocol in the video below. This is optional for this laboratory, but may be useful, particularly if you are conducting this assessment on rangeland.
Assessing Residue Breakdown and Predicting Residue Loss
Crop residue and ground cover is broken down by soil organisms through shredding, fragmentation, cycling, and decomposition. The rate at which this occurs can be an indicator of biological activity. This process is also influenced by soil moisture, soil and air temperature, C:N ratio of residues, and more. Assess residue breakdown by examining residue for signs of decomposition, shredding, and incorporation by soil organisms. In addition, note the condition, color, and depth of the residue most recently deposited. If possible, discuss management of the field with the land manager to determine residue age and types of plants. Note that this indicator can be assessed at any time, but may be influenced by full-width tillage.
Based on your observations at the site, is the natural decomposition of crop residues or ground cover as expected with crop and conditions? Report your response as yes or no in the data sheet.
Assessing Residue Breakdown with LandPKS
Watch the video below for an overview of assessing residue breakdown and how to record that data in the LandPKS app.
Questions
The following questions directly relate to this lab activity and will be answered as part of the Site Evaluation and Soil Health Assessment Report.
- Describe the site conditions and recent operations (tillage, tillage implements used, planting, etc.)
- What field operations are planned for this site between now and the next time it is planted?
- What was the average percent ground cover for each location?
- Based on your responses to the questions above, estimate the remaining plant residue at the time of planting the next crop using this extension publication from the University of Nebraska, Lincoln.
References
LandPKS. 2020a. Vegetation & LandCover Training, Part 1. https://youtu.be/R5_TmcA8HyU.
LandPKS. 2020b. Vegetation & LandCover Training, Part 2. https://youtu.be/qJHPY15iaSI.
LandPKS. 202a. SoilHealth Trainings 1: Introduction to the Indicators. https://youtu.be/CO2pYxWi2yo.
LandPKS. 2021b. SoilHealth Trainings 2: Set-up & Soil Cover. https://youtu.be/Rogcmd8-fYg.
LandPKS. 2021c. SoilHealth Trainings 3: Residue Breakdown. https://youtu.be/puIND54_uPk.
LandPKS. 2023. LandPKS. https://landpotential.org/.
Shelton, D. P., J. Smith, P. Jasa, and R. Kanable. 1995. Estimating Percent Residue Cover Using the Calculation Method. Lincoln, NE: University of Nebraska, Lincoln. https://digitalcommons.unl.edu/cgi/viewcontent.cgi?article=1782&context=extensionhist.
USDA-NRCS. 2021. Cropland In-Field Soil Health Assessment Guide. USDA-NRCS. https://www.nrcs.usda.gov/wps/portal/nrcs/detailfull/national/soils/health/?cid=nrcs142p2_053869.
USDA-NRCS. 2022. Conservation Practices. https://www.nrcs.usda.gov/wps/portal/nrcs/detailfull/national/technical/cp/ncps/?cid=nrcs143_026849.
